
If you’ve been reading along in our monthly blog posts, you know that we’ve helped leather working hobbyists set up their workspaces, build their tool collection, and explored basics of thinning leather for specific projects. In this and the next few posts, we’ll dive into particular projects to start off your leather crafting. We’ll help with the how-to’s of getting started, tips to make the project easier, and then you’ll be on your way!
Gathering Your Supplies
To get started with your DIY leather keychain, make sure you have all of the necessary tools for this particular project. You will need: leather material, a keyring, a utility knife, a round drive punch, a medium rapid rivet, and supplies to decorate (such as stamping tools, leather dye, polish, and paints). If you want a certain shape, you can either purchase the already cut piece of leather, or, this will be your first step!
Crafting Your Keychain
Begin by cutting your piece of leather into the shape you want for the keychain. You can do so by using your utility knife very carefully. Make sure the leather is flat against your workspace. You may also consider using a drawn pattern for the shape. If you’re not ready for this step, you can also just keep the leather in a rectangular strip.
Next, you'll want to use your drive punch to punch two holes for the keyring.
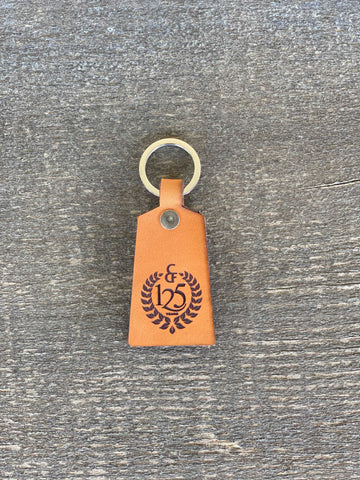
Now comes the fun part - designing your keychain! Feel free to use leather dyes for the color, stamps for monogramming, or different patterns. Just be sure to go light in the beginning and add pressure and detail as you reach your desired style. This goes for any project!

If you decide you’re ready to jump into more intricate design styles, you could try etching. Etching is a design process that can be done by hand with a small, simple tool. The tool can be used to create different patterns and styles. It may be helpful to draw out your design and etch based on it. This will help with alignment and detail, however, freehand is always an option if you’re confident.
Your keychain is almost complete! We recommend applying a leather finish or seal that will protect the keychain from water and general use wear and tear. Make sure the finish dries completely before moving on.
Lastly, attach the rivets and you’re done. Fold the leather strip over the keyring and join where your two holes are. This is where you will place and secure your rivets. You can do so by using a rivet setting tool, or just a hammer - keep in mind though that a hammer will flatten the dome shape of the rivets. Once your rivets are secure around the keyring, you are done!
Congratulations! You’ve just completed your first leather crafting project!
Closing Helpful Tips
Some recommendations include:
- Purchasing pre-cut keychain designs. This saves you the step of having to cut and is especially helpful if you’re tackling this project with kids.
- Choosing a leather that isn’t too thick or too thin. We recommend about ⅝” inch thick.
- Using a standard-sized keyring.
- Erring on the side of caution. When cutting, start small and then cut more. When stamping, start light and then stamp slightly harder. When dyeing, start light and then darken to your liking. You can always increase, however, once something is overdone you’re stuck with it (or will need to start over).
- Practicing everything on leather scraps. Don’t be afraid to practice cutting, stamping, and/or dyeing on scrap pieces of leather to build your confidence. Even if you’re great at one of these techniques, build up the skills in the others.
